

How to Create a Spin-to-Win Campaign in 5 Minutes
Most marketing and event teams assume launching an online spin-to-win game means opening a ticket with IT, waiting on a dev sprint, and testing prize logic in a staging environment for days before anything goes live. On LuckyWheel, it doesn't work that way. The entire flow — from prize structure to a fully branded, QR-triggered wheel — is built for a marketing or event team to run start to finish, with zero code, and a campaign can realistically be ready to launch in about five minutes. This guide walks through the platform's actual 4-step flow, using the real public demo scenario as a worked example so you can see exactly what each step looks like in practice.
Want to run a similar program?
See a real prize wheel running right in your browser.
Why five minutes is a realistic number, not a marketing line
The speed isn't the result of cutting corners on functionality — it's the result of each step mapping to exactly one decision that needs to be made: prize structure and rules, brand look, distribution channel, and how you read the results. There's no step in between that requires writing configuration files or waiting on a third party. The fraud-resistant, tamper-proof draw logic — prize inventory locking, precise odds control — runs server-side and is handled automatically behind the scenes; the person setting up the campaign just enters the numbers they want, and the system enforces them.
Here's the flow in the order you'd actually encounter it.
The 4-step flow for launching a spin-to-win campaign
Step 1: Initiate the campaign — set your prize structure and rules
Start from a ready-made template or a blank canvas, then set the prize structure, win odds, and game rules in a handful of clicks. This is the step that matters most, because it determines both your prize budget and how players will feel about the experience afterward.
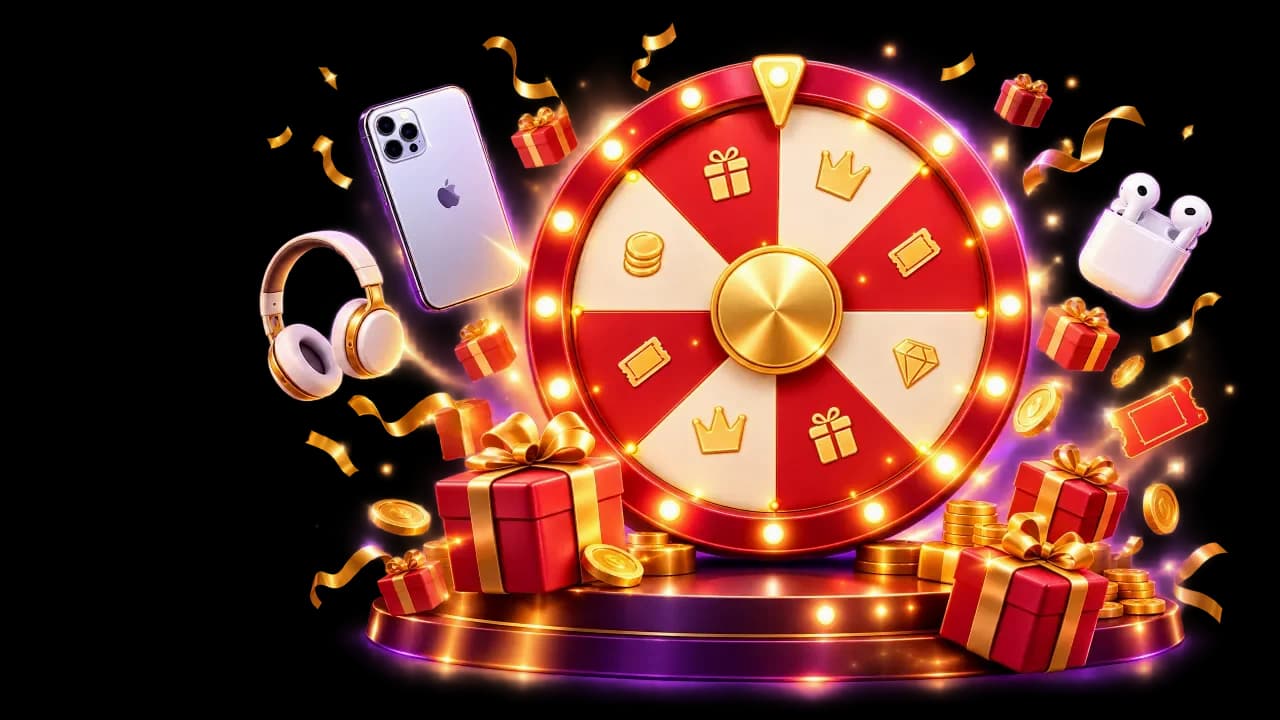
LuckyWheel's own public demo — a "Customer Appreciation Event" campaign themed around "spin now, win instantly" for verified receipts — is a concrete example of how a tiered prize structure is set up:
- Grand prize: an iPhone 16, capped at 2 units per day
- Mid-tier prizes: a 43" Smart TV (3/day) and premium Bluetooth headphones (10/day)
- Common prizes: a 500,000đ voucher (50/day) and a 100,000đ voucher (200/day)
- Unlimited participation gift: a small 50,000đ gift for everyone who spins
This tiering isn't arbitrary, and it's the single most important design decision in the whole setup. A flat prize structure — where every player has a shot at the same one prize tier — tends to fail in one of two directions: either the prize is too small to generate any buzz, or it's generous enough for everyone that the budget is gone within hours. A tiered structure solves both problems at once. The grand prize (the iPhone 16) is what gets talked about, photographed, and shared — it's the reason the campaign has a story. The lower tiers — vouchers and the unlimited participation gift — mean the overwhelming majority of players still walk away having "won" something, even though they didn't land the big prize. That combination is what keeps sentiment positive at scale: nobody feels like they wasted their time, and the grand prize still does its job of creating excitement. Prize inventory control automatically locks VIP-tier prizes the moment the daily quota is hit, so there's no risk of a booth accidentally handing out more iPhones than budgeted.
Setting the rules alongside the prize structure is what keeps the mechanic fair and auditable rather than a source of disputes later. The same demo campaign sets rules like: players must be 18+, the receipt must meet a minimum value (200,000đ in the demo), only one spin per receipt, a cap of one prize per day per ID, prize redemption via a QR code or 6-digit code at a service counter on the same day, no cash conversion on prizes, and a standard anti-fraud clause covering duplicate or tampered entries. None of that requires custom logic on your end — it's entered once, as part of step 1, and enforced automatically for every spin afterward.
Step 2: Sync the branding
With the prize structure set, the next step is matching the wheel's logo, colors, and prize imagery to the campaign's key visual — the same look already running on your posters, landing page, or livestream overlay. Wheel segments, background color, and prize icons are all editable to line up with your existing creative rather than looking like a generic, bolted-on widget.
Before anything goes live, you get a real-time preview across devices — phone, tablet, and the large LED screens often used at booths — so you can confirm text isn't clipped, prize art renders at the right proportions, and the experience feels consistent no matter what device someone scans in from.
Step 3: Reach participants
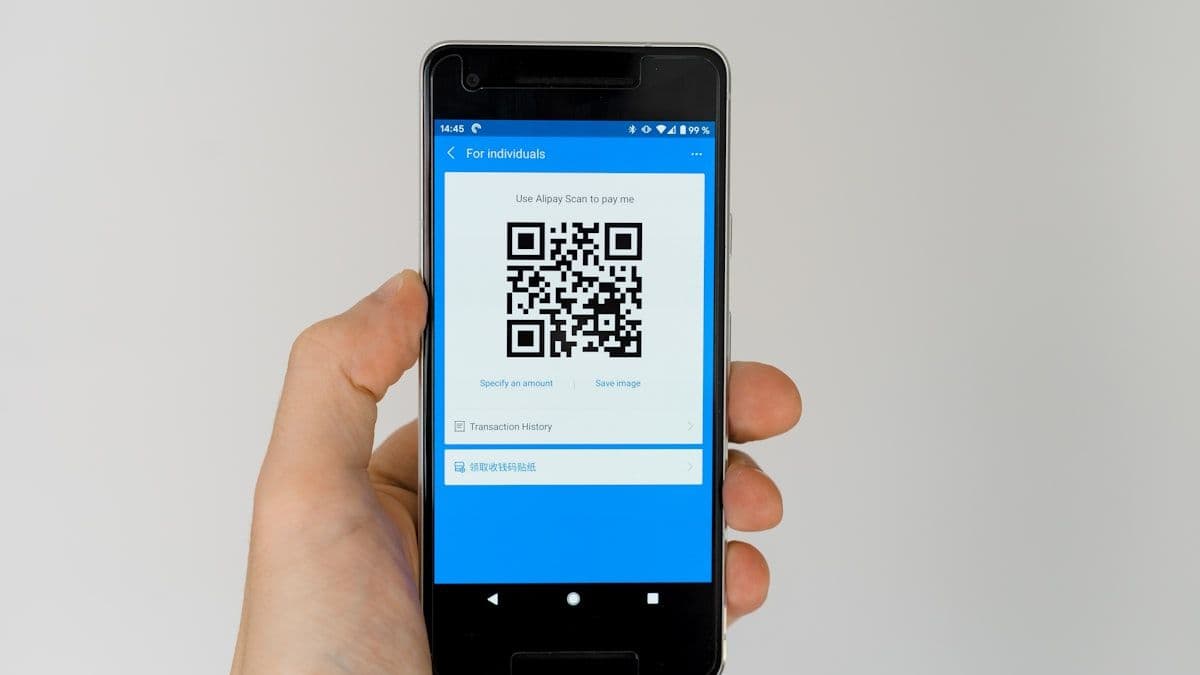
This is the step that determines whether anyone actually plays. LuckyWheel supports three main distribution paths, and which one you use depends on the context of the campaign: a QR code at a physical location (a booth, a checkout counter, a retail display), a pinned link in a livestream's comments, or an embed directly inside an existing landing page.
The public demo is a useful concrete example of just how frictionless the participant side of this is. It's a 3-step flow, with nothing extra bolted on:
- Enter your receipt or invoice code
- Verify your phone number
- Spin instantly — the result appears within seconds
No app download, no account creation, no long form. That's exactly the speed a customer standing at a checkout counter, or scrolling through a livestream, needs: scan, verify, spin, know the result, move on. It's also the core reason QR-triggered spin wheels are displacing older mechanics like paper raffle tickets or can-toss games, which require a staff member on-site to explain the rules and hand out entries one by one.
Which of the three channels you pick changes very little about the setup itself — the same campaign, prizes, and rules from Step 1 carry over regardless of distribution path. A retail activation typically leans on the QR-at-location option since foot traffic is already walking past a fixed spot. A livestream sales event leans on the pinned link, since viewers are already watching on a phone and won't scan a code off a second screen. An existing product landing page or microsite leans on the embed option, so the wheel becomes one section of a page that's already getting traffic rather than a separate destination people have to be redirected to.
Step 4: Read the results
While the campaign is running, a real-time dashboard shows participant count, leads captured, and conversion percentage — there's no need to wait until the end of the day to know whether the mechanic is actually working. All participant data can be exported as a clean CSV, ready to drop into an internal report or, if you're an agency, send straight to the client.
The moment the campaign ends, an ROI report is generated automatically — no late-night manual data reconciliation before the next stakeholder meeting.
No developer, no IT ticket required
The thread running through all four steps: none of them require writing code, filing a request with engineering, or scheduling a multi-day implementation project. Choosing the prize structure, syncing the brand look, picking a distribution channel, and reading the results all sit with the marketing or event team, self-serve, start to finish. That's the real difference between this and asking a dev team to build a custom raffle system, or briefing a third-party vendor to rebuild a minigame for every new campaign.
See it for yourself
A written walkthrough only gets you so far — running through the actual flow is a different kind of understanding. The fastest way to see exactly how this works, from both the campaign-builder side and the player side, is to try the live public demo, which runs the same "spin now, win instantly" scenario described above. If you're already scoping budget and rollout scale for your own campaign, check the pricing page to see which plan fits.